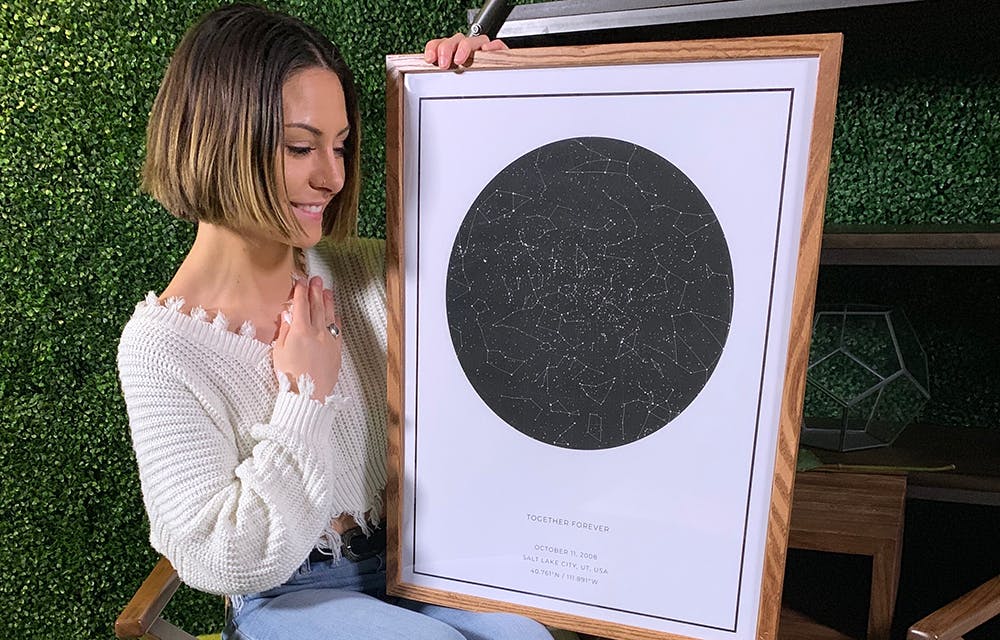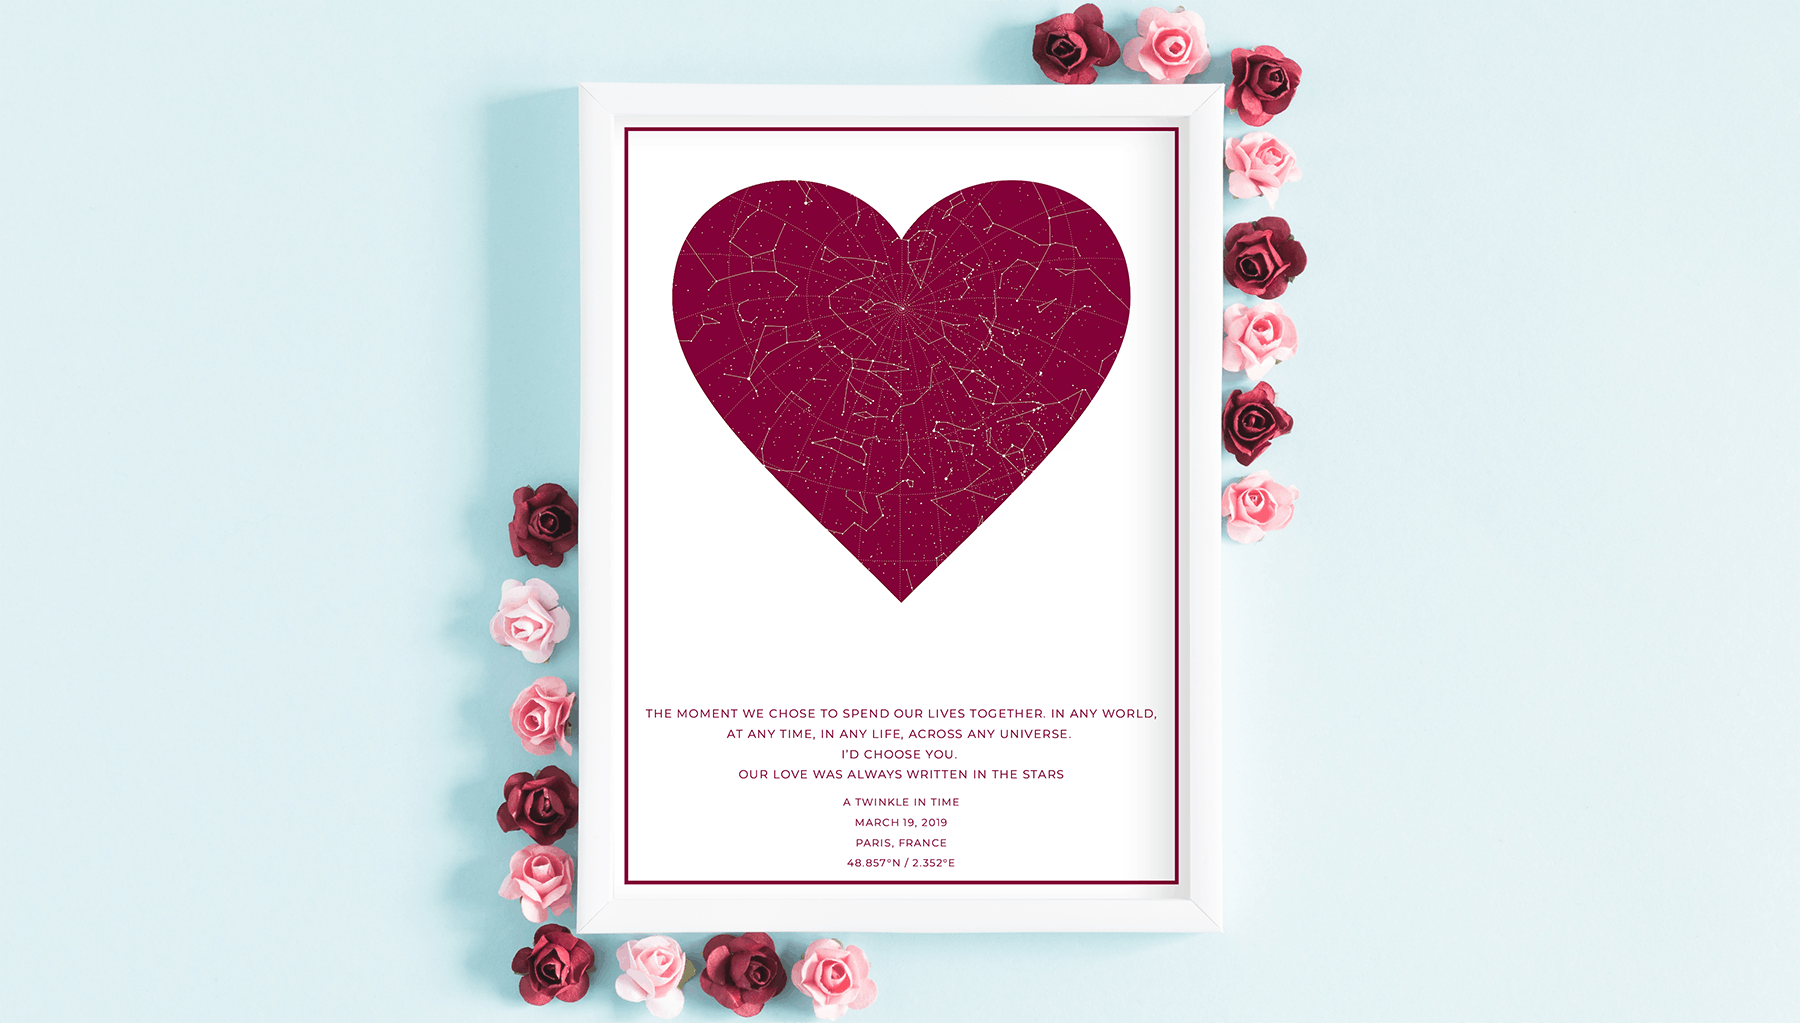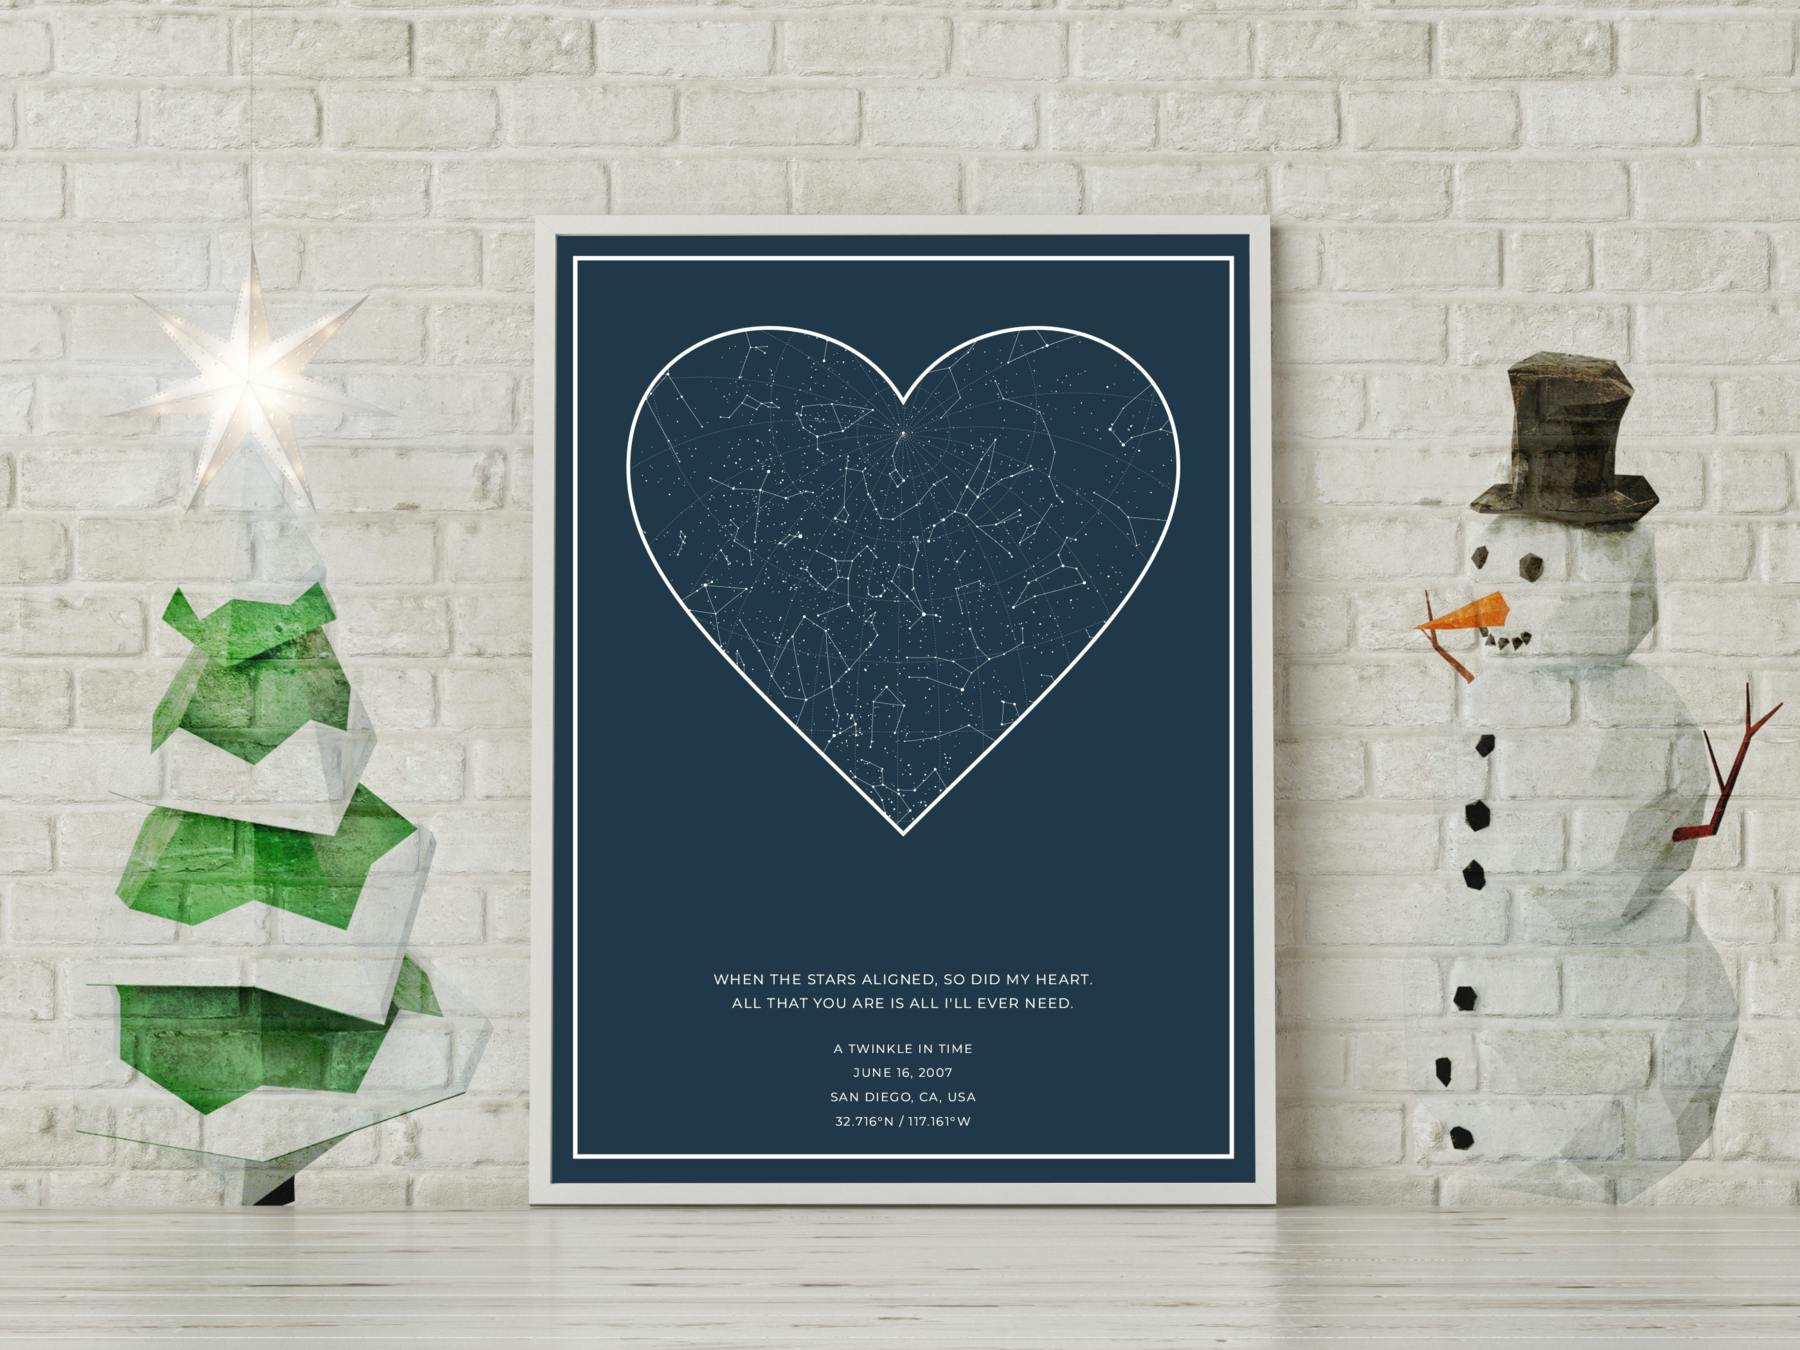
Do you want the perfect gift to celebrate an anniversary? Maybe something to commemorate your child's birth or an engagement? Gift them a star map to mark the occasion. You've likely seen a star map on sites like Pinterest or Instagram. It's a trending gift idea that's hot right now.
A star map features the constellations on a specific night, marking the time and location of the event. You can make a free star map with just a few basic materials and some time. If you don't have the time and you have two left thumbs, you could always purchase your star map instead.
For those arts & crafts enthusiasts, this post unpacks the method of creating your free star chart from scratch. Our guide gives you a process for making your DIY star map, follow along and let's have some fun!
Creating Your Free Star Map – Before You Start
Before we start, you will need to gather some basic materials for the task. Visit your local arts & crafts store, or order the following online.
- A PC or laptop with Microsoft Word or a text editor.
- A printer with black-&-white and color ink.
- Ruler and pencil (don't use a pen, you can always erase pencil lines).
- A large piece of black or white paper card (don't use colors).
- A frame for the finished product.
If you don't have all the above, don't worry!. You can order your star map for an affordable price from us at TwinkleInTime.
Star Chart Astronomy – Latitude and Longitude
To start, you'll need to calculate the longitude and latitude coordinates on the day and hour of the event you want to commemorate. Visit an astronomy website and enter your city name and zip code.
These sites help you calculate the exact position of the stars above you during that time and date. Whether you want a snapshot of the sky during the birth of your niece, your wedding night, or your graduation, you have the exact coordinates available to map the sky.
A star charting algorithm calculates the position, meaning there's no room for error in the process. Plenty of free tools are available online to help you plot the stars correctly. We like the "Your Sky" app. Most of them operate in UTC (Universal Time), so you'll need to calculate the correct time zone per your country and state.
The website "Time.is" offers a free time zone conversion tool to help you with the task. Just slot in your date, time, and location; it does everything for you in a second with amazing accuracy. Select the "other Locations" tab, enter UTC, and click "Compare."
The program calculates the UTC of your event down to the exact moment. Next, input the UTC into your charting software or app's "Date and Time" field. Add the coordinates to the "Observing Site" field. We recommend you copy-paste the results to avoid making a typo. That could be a disaster. Choose South or North Latitude and West or East for Longitude.
Choosing the Visual Elements of Your Star Map
Visit the settings in Your Sky and scroll below the time and date field. You have options to select the visual elements you want to add to your star map. We recommend you choose a sizable image in at least 1,200 pixels if you're going to print on an A4 piece of paper.
Choose white on black or black on white, it's a personal preference, or you can choose to print both. Finish your selection and click "update" in Your Sky. The algorithm calculates the map based on your previous inputs, presenting you with the final image to print.
Before you hit the print button, double-check the image and the coordinates. Once you're happy with the final image, click "save," and it lands on your desktop, ready to print.
Printing and Customizing Your Free Star Chart
If you're printing the chart at home, copy/paste it to a word or text document for easy printing on your device. You can play around with the margins to enlarge the image to your preferred size. We recommend setting your custom margins to zero to optimize all the space on the paper.
When you feel you're ready to print, click "CTRL+P" and make the magic happen. If you don't have a printer at home or want to publish in A3 for a larger map, visit your local printing shop with the file. You can drop into the physical location with the file on a memory stick or email it to them if they're too far from your home.
A printing store can print the image as large as you want, all the way up to a 36" x 24" banner size. The only issue is this is going to cost you a pretty penny. You could end up paying up to $100 for a high-quality, large print on fine art paper.
If you can't make it to the print shop, they'll courier the star map to you in a tube. Or you could send it directly to the framer to have them place it in a frame before delivering it to you.
Framing Your Free Star Map
If you're doing the framing of your star map at home, we recommend picking one up from Amazon. They have a huge selection of frames, and you're sure to find one that meets your requirements. So, choosing the DIY option could cost you next to nothing if you print it at home.
Otherwise, you're looking at a $60 to $300 investment. It depends on the print size you choose with the print shop and the frame. That's not exactly free, but you'll love the finished result.
Take the Hassle out of Making a Star Map
If you don't want to go through the hassle of making a DIY free star chart, you always have the option of ordering yours on twinkleintime.com. You get a professionally designed star map guaranteed for accuracy, with no chance of errors.
Related Articles
"I wanted to surprise my husband with a star map of when we were married. He was so pleased with it, he cried tears of enjoyment! I think it’s better than the picture shows. Absolutely beautiful!"
- Ellen H.

